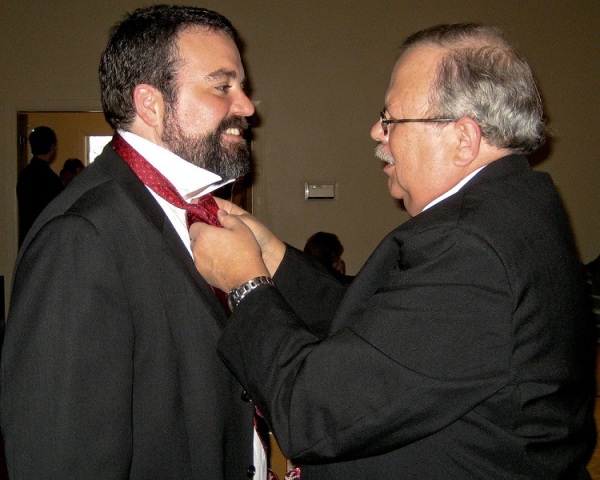
To know how to tie a tie, read the steps given below. Given below are some basic steps to teach you how to wear a tie.
How To Tie A Tie
A tie is usually an important part of the formal ensemble for those at school as well as the ones working in the corporate world. This makes it extremely important for you to know how to tie a tie. There can be a number of ways of tying it such, as a Simple Knot or a Schoolboy Knot, the Four In Hand, the Windsor, Half Windsor or Bow Tie. You can determine your own style, considering factors like personal preference, body type and preferred shirt style. However, no matter which style you choose, it is necessary to know the exact and proper way of tying the perfect knot, which works a great deal in improving your persona. So, to know how to tie a necktie, read the steps that follow.
How to Tie a Necktie
Actually, there are four types of necktie knots that are used widely. The Four In Hand, the Windsor, Half Windsor or Pratt Knot. Read the following paragraphs to know how to tie the tie in these four formats.
Four In Hand Knot

- Get a tie and put it on your collar making the wide end extend about 12 inches below in the right side and keep the narrow end on the left.
- Now make a cross with the wide end over the narrow end.
- Pass the wide end underneath the narrow end back to the right side.
- Now pass it back to the left side by crossing the wide end over the narrow end in front.
- After you have passed it to the left side, you need to pull the wide side through the loop in the upward direction.
- Hold the knot slightly and bring the wide end through the loop, this time in downward direction.
- Now stiffen the knot carefully to the neckline by sliding the knot up, by holding the narrow end.
Pratt Knot
- Start by keeping the tie in the same way you did for the four in hand knot.
- Now instead of going over the narrow end like you did in the four in hand knot, cross the wide end by keeping it the narrow end.
- Now take the wide end once over and the under the narrow end making a loop.
- Drag the loop down and make it tighter.
- Now, take the wide end over the loop to the right side.
- You need to take the wide end from below and pull it up. Now, pass the wide end through the knot and tighten gently making your Pratt knot.
Half Windsor Knot
- Half Windsor knot is a triangular knot and can be used with any shirt. This too start in the same way as the four in hand knot or Pratt knot.
- In the same way as the four in hand knot, cross the wide end over the narrow side
- Now bring the wide end back to where it was before, taking it around and behind the narrow side making a loop.
- After you have made the loop, pass the wide end from it in upward direction.
- Now bring the wide end back through the loop towards the right side.
- You need to bring the wide end again to the left side taking it around front, and over the narrow end.
- Pass the wide end through the loop again the upward direction. Now bring it back to the down through the knot in front.
- Use both hands to tighten the knot carefully and bring it to your collar.
Windsor Knot
- Windsor knot is believed to project confidence and thus is suitable for use in job interviews, project presentation etc. Start with the same way as for any other knot with wide side extended 12 inches in the right side.
- Bring the wide side over the narrow end by crossing it.
- The loop you made by bringing the wide end over the narrow side should be used to let the wide end pass in upward direction.
- Now bring the wide end back in the downward direction.
- Take the wide end beneath the narrow end towards right side and bring it back through the loop towards the right side itself making the wide side look inside out. Bring the wide end across the front from right to left.
- Now pull the wide end through the loop in the upward directions again.
- Now bring the wide end again in the front side though the loop. Use both hands to tighten the collar and you are ready with your Windsor tie knot.
See also
More from iloveindia.com
- Home Remedies | Ayurveda | Vastu | Yoga | Feng Shui | Tattoos | Fitness | Garden | Nutrition | Parenting | Bikes | Cars | Baby Care | Indian Weddings | Festivals | Party ideas | Horoscope 2015 | Pets | Finance | Figures of Speech | Hotels in India : Delhi | Hyderabad | Chennai | Mumbai | Kolkata | Bangalore | Ahmedabad | Jaipur
- Contact Us Careers Disclaimer Privacy Policy Advertise With Us Lifestyle Sitemap Copyright iloveindia.com. All Rights Reserved.


