Give your tie a more balanced knot and a polished look by learning how to tie a double Windsor knot. Follow the instructions illustrated in the article for tying a perfect a double Windsor.
How To Tie A Double Windsor
Do you wish to give your tie a much fuller look and a more fashionable feel than the conventional appeal that you reveal every day to office or meetings? Are you fed up of the age-old ties you’ve been tying for so many years? Gift a difference to not only your tie but also to your entire personality. Let your colleagues and other acquaintances envy your perfectly tied tie that would speak out your oomph and persona. Also known as a full Windsor, a double Windsor is the daddy of all necktie knots existing. For just like all neckties speak volume about your character, a double Windsor induces confidence and is considered to be the perfect necktie knot for extremely formal occasions. Imagine yourself wearing a formal suit jacket with an amazing tie flaunting a double Windsor knot — a perfect recipe to turn heads! However, avoid wearing a double Windsor with a dress shirt without a jacket. Try out a simpler Pratt knot for such a dress code. Now, if you’re looking for steps that will help you to tie a perfect double Windsor knot, scroll through the following lines to receive answers to your questions.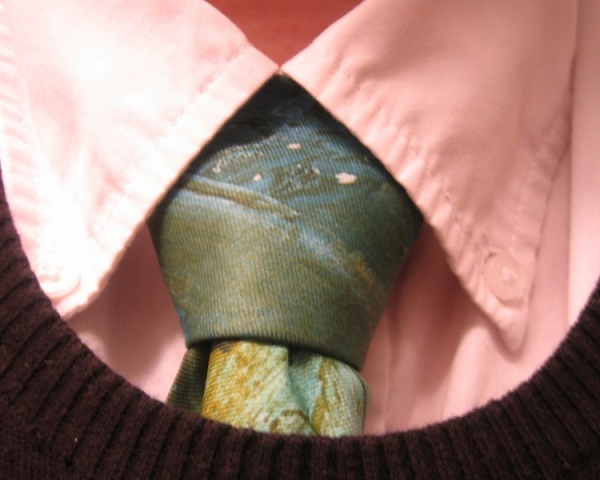
Image: pinprick@flickr
Tying A Double Windsor Knot
-
Put on your dress shirt and button up correctly.
-
Flip up the collar of the shirt and wrap the tie around the back of your collar.
-
Make sure that the wide end of the tie hangs down on the side of your dominant hand. It should hang about more than twice than the narrow end of the tie.
-
Hold the wide end and cross it over the front of the narrow end.
-
Leaving a few inches below your neck, wrap the wide end around the back of the narrow end and bring it to the other side.
-
Slide the wide end through the back of the V-shape created by the knot towards your neck.
-
Pull out the wide end to the front of the V-shape towards your non-dominant hand.
-
Wrap the wide end around the knot from the non-dominant side to the dominant side from below.
-
Wrap the wide end from the front over towards the non-dominant hand.
-
Slide the wide end from the non-dominant side through the V-shape towards your neck.
-
Tuck the wide end through the front loop of the knot created towards the front.
-
Pull the wide end gently from the loop downwards until the knot tightens.
-
Using both your hands, pull the narrow end downwards and slide the knot upwards to the collar.
-
Flip the collar over the tie and you are done with a double Windsor knot.
Tips
-
Make sure that the knot should be strong and not flimsy or thin, since a double Windsor requires two knots.
-
After you are done with the double Windsor, the tip of the wide end of the tie should touch your waist.
-
In case the narrow ends hangs lower than the wide end, untie the tie and tie the knot again with the wide end hanging a little lower than you did in the first place.
-
However, if the narrow end hangs too high, undo the tie and begin again with hanging the wide end a little higher than you did in the first instance.
-
While unfastening the tie, do not pull the narrow end through the knot and untie it. Doing so will spoil the creases and shape of the tie. Simply follow the instructions in the reverse direction to keep the tie in good shape.
Learned how to tie a double Windsor? So, what are you waiting for? Attend all your important formal functions with confidence and stylish flair. Good luck! Enjoy knottting!
How to Cite


See also
More from iloveindia.com
- Home Remedies | Ayurveda | Vastu | Yoga | Feng Shui | Tattoos | Fitness | Garden | Nutrition | Parenting | Bikes | Cars | Baby Care | Indian Weddings | Festivals | Party ideas | Horoscope 2015 | Pets | Finance | Figures of Speech | Hotels in India : Delhi | Hyderabad | Chennai | Mumbai | Kolkata | Bangalore | Ahmedabad | Jaipur
- Contact Us Careers Disclaimer Privacy Policy Advertise With Us Lifestyle Sitemap Copyright iloveindia.com. All Rights Reserved.