Smocking is the name of the embroidery technique used for stretching the cloth, instead of using elastics. With the instructions given below, learn how to smock.
How To Smock
Smocking is the name given to an embroidery technique that was developed in England. It is used for the purpose of gathering a fabric in such a way that it is able to stretch. In fact, before the invention of elastic, smocking was widely used in cuffs, bodices and necklines in garments, where buttons were unwanted. The technique of smocking has been in use since the Middle Ages; however its popularity was at its peak in the 18th and 19th centuries. A smock is amongst the few embroidery styles that have some use apart from decoration. With the information given below, learn how to smock. 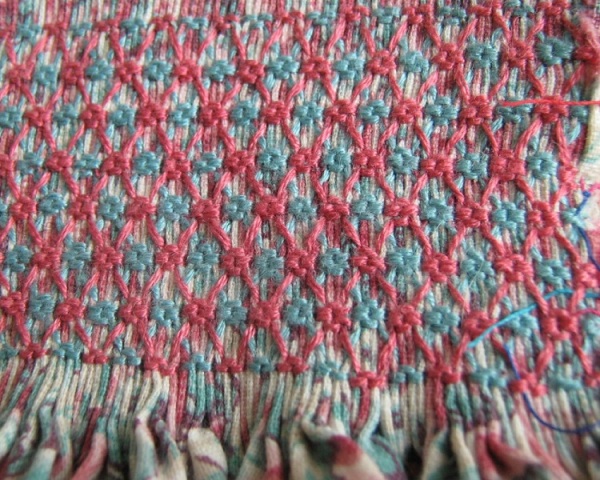
Image: susan402@flickr
Instructions for Smocking
Items Needed
-
Fabric
-
Thread
-
Pleated garment
-
Cotton thread
-
Needle
-
Pleated Garment
-
Needle
-
Cotton Thread
-
Smocking Pleater (optional)
Instructions
-
First of all, you will be required to pleat a garment. You can make use of the Smocking Pleater for the purpose. Make sure that the while pleating, the general gauge is 3:1 i.e. three inches of un-pleated fabric to one inch of pleated fabric.
-
Unpick the first three pleats on both sides of the garment, in order to create seam allowances.
-
Tie off the pleats, taking two at a time.
-
Now, redistribute the pleats evenly and align them correctly, with the help of a comb.
-
Thread the needle, with three strands of cotton thread, and tie a single knot at the end.
-
Start the process of smocking on the second gathered row, while making sure to avoid catching the gathering thread in it.
-
Taking the pleats to be a row of V's, start just above the gathering thread, but under the fabric. Pull the needle up through the bottom of the second V, or pleat, bringing the needle in the valley, to the left of the second pleat.
-
Put the needle inside, through the first pleat, from left to right. With this, you can start stitching.
-
Bring the needle up to the left of the first pleat.
-
With the thread being under the needle, pick up the second pleat as you insert the needle from right to left.
-
As the stitch comes to an end, give a gentle upward tug to the thread.
-
Now, keeping the thread above the needle, pick up the third pleat.
-
Thereafter, insert the needle from right to left. As the stitch comes to an end, give the thread a gentle tug, this time downward.
-
Repeat the stitches mentioned above across the row.
-
Place another stitch in the final pleat as you end the row. Make sure to leave a little loop as you pull the thread.
-
Finally, run the needle back through the loop and pull the thread to create a knot. Trim the remaining thread to ¼ inch.
How to Cite


See also
More from iloveindia.com
- Home Remedies | Ayurveda | Vastu | Yoga | Feng Shui | Tattoos | Fitness | Garden | Nutrition | Parenting | Bikes | Cars | Baby Care | Indian Weddings | Festivals | Party ideas | Horoscope 2015 | Pets | Finance | Figures of Speech | Hotels in India : Delhi | Hyderabad | Chennai | Mumbai | Kolkata | Bangalore | Ahmedabad | Jaipur
- Contact Us Careers Disclaimer Privacy Policy Advertise With Us Lifestyle Sitemap Copyright iloveindia.com. All Rights Reserved.