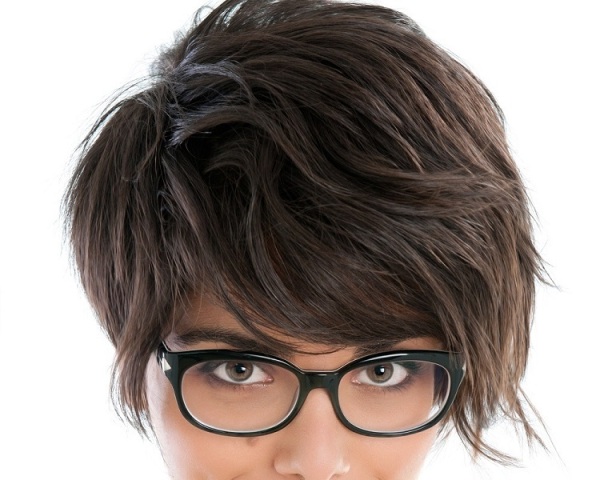
A graduated bob haircut is that one style made famous by the snazzy Victoria Beckham. Swing through this article for know-how on how to cut a graduated bob haircut.
Graduated Bob Haircut
Every woman, as far as her looks go, loves to have that edge over her peers. How exactly is this ‘edge’ achieved? Well, it’s simple really. You get the best shoes, you get the best clothes, you get the best haircut and you automatically are transported into a world far away from competition. As far as haircuts go however, it hardly gets trendier than the graduated bob haircut, think Victoria Beckham. Most women for the love of the haircut make a beeline to saloons that promise to deliver the goods, hardly realizing that they can learn to do it themselves. By themselves here obviously means getting a friend to do it or trying the cut on a friend. Take the time and read on to discover step-by-step instructions on how to cut a graduated bob haircut. It really is not as difficult as most people think it to be. With a little interest and a truckload of concentration, giving someone the graduated bob haircut shouldn’t be too difficult.

Graduated Bob Hairstyle
-
A Comb
-
A pair of Shears
-
A Razor
-
Clips
-
Styling Wax
-
A Blow-Dryer
-
Start off by washing your ‘client’s’ hair. When desiring to get the graduated bob haircut, it is best to work on clean and wet hair. Wet hair however does not stand to signify that the hair is soaking wet; it simply means hair that is blessed with a little more moisture than dry hair.
-
Now, with your client’s chin placed closest to her chest, make a move to determine where her hairline begins. From ear to ear and across the back of the head, section the back of the hair. With the comb, comb out the hair to rest it flat against the head. The purpose of combing out the hair is to rid it of knots and tangles and also make it easier to cut.
-
Along the back of the head, cut hair along its natural hairline. By doing this, you will be creating a guideline for the rest of the cut. Ask your client to lift her head and turn it towards to the left. Comb out the hair again, straight down. With an expert eye, check for the guideline that should extend from her ear to her jaw. Once you’re done with this, cut a clean straight line keeping well in line with your client’s natural jaw line. Repeat the same procedure on the right side.
-
If you have done it right, you should notice the basic shape of the graduated bob, short at the back and longer in the front.
-
Ask your client to place her chest back to her chin again. You will now have to start off with the layers. Take a one-inch section of hair and in the centre of the back, cut hair at a 45 degree angle. Continue cutting hair as you follow the head’s natural shape. Cut hair until you reach the back of the left ear and move back until you reach the right ear. You should now see even and graduated layers.
-
Connect the hair at the back of the head with the front without compromising on the length. Take the shorter piece from the top of the head and section it down to the middle part. Also, cut out the corner of the hair between the back and the front. However, make it a point to not lose the shape you worked so hard for.
-
Blend the sides of the hair section vertically from the bottom of the chin all the way to the back of the neck, but just before the back of the head. With the successful implementation of this step, your perfect graduated bob should be done with.
-
For that out-of-world but still trendy look, use a razor or shears and soften the edges without disturbing the look of the style.
-
Lastly, blow dry the hair and style it with a generous dollop of hair wax.
See also
More from iloveindia.com
- Home Remedies | Ayurveda | Vastu | Yoga | Feng Shui | Tattoos | Fitness | Garden | Nutrition | Parenting | Bikes | Cars | Baby Care | Indian Weddings | Festivals | Party ideas | Horoscope 2015 | Pets | Finance | Figures of Speech | Hotels in India : Delhi | Hyderabad | Chennai | Mumbai | Kolkata | Bangalore | Ahmedabad | Jaipur
- Contact Us Careers Disclaimer Privacy Policy Advertise With Us Lifestyle Sitemap Copyright iloveindia.com. All Rights Reserved.


