Tying shoelaces is easier said than done. In this article, we have provided systematic guidance to help you learn how to tie shoelaces.
How To Tie Shoelaces
Tying shoelaces may seem to be very easy, but it is as twisting as the knots in it! There are literally hundreds of ways to tie the shoelaces of your formal shoes or sneakers. However, to try out those unique designs of your lace, you first need to know the basic method of tying shoelaces. If you haven’t mastered the technique of inserting the laces in the right holes and in the right way, go through this article. In the following lines, we have provided systematic guidance to help you learn ways to tie shoelace.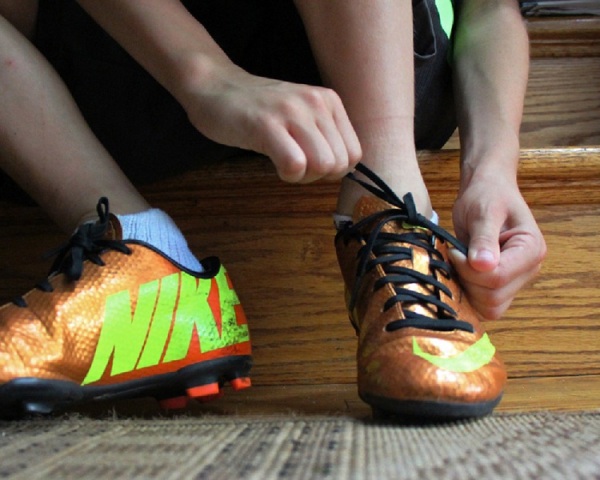
Image: woodleywonderworks@flickr
Learn Ways To Tie Shoelaces
- Using the index finger and thumb of your left hand, grasp the lace from the hole on the left side.
- Using the index finger and thumb of your right hand, grasp the lace from the hole on the right side.
- Place the left lace over the top of the shoe.
- Release the lace in the left hand.
- Now, bring the lace on the right side over the top of the shoe. Make sure that the right lace is positioned on the front of the left lace.
- Release the lace in the right hand.
- When the two laces cross, take hold of them with your right index finger and thumb.
- Using your left hand, hold the lace that is on the left side. Ensure that it is one inch away from the cross.
- This way, a triangle will be created from the cross.
- With the help of your index finger, drag the lace to the plane of the triangle and hold it there.
- With the help of your left thumb, pull the lace through the triangle and then release the cross.
- Pull on the two lace ends until the tie is tight. Now, let go of the laces.
- With the help of index finger and thumb, grasp the lace that is now positioned on the left, two-thirds down the lace (away from the shoe).
- Bring the lace to the knot in the laces.
- Now, hold the lace on the right side, one-third down the lace that is away from the shoe. Make use of your right index finger and thumb for this.
- Bring this lace at the back of the loop formed by the other lace.
- Repeat the process of bringing the lace around to the front of the loop.
- Hold the lace slightly to the right side of the base of the loop.
- Release the loop with the left hand.
- This way, a small triangle will be formed by the loop. The lace will be wrapped around it and there will be twist in the laces at the base.
- Using your left index finger and thumb, pull the lace held in the right hand through that small triangle. While doing this, make sure that the length of the new loop is almost equal to that of the other loop.
- Release the lace with the left hand.
- Hold the left loop with the help of your left index finger and thumb.
- Hold the left loop with the help of your right index finger and thumb.
- Pull on the loops until the knot is sufficiently tight.
How to Cite


See also
More from iloveindia.com
- Home Remedies | Ayurveda | Vastu | Yoga | Feng Shui | Tattoos | Fitness | Garden | Nutrition | Parenting | Bikes | Cars | Baby Care | Indian Weddings | Festivals | Party ideas | Horoscope 2015 | Pets | Finance | Figures of Speech | Hotels in India : Delhi | Hyderabad | Chennai | Mumbai | Kolkata | Bangalore | Ahmedabad | Jaipur
- Contact Us Careers Disclaimer Privacy Policy Advertise With Us Lifestyle Sitemap Copyright iloveindia.com. All Rights Reserved.