In the present times, gel nails are fast replacing all other forms of artificial nails available in the market. Browse through the article to learn how to apply gel nails.
Gel Nails
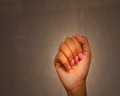
Amongst a wide variety of artificial nails available these days, gel nails surely stand out. Be it acrylic, fiberglass or linen nails, gel nail extensions are the preferred choice because of their realistic look. These make your nails look beautiful, are non-porous, flexible and robust. The unique selling point (USP) of gel nails is that they do not cause any harm to the natural nails. In fact, they condition, strengthen and treat the yellowing of nails. Apart from this, gel nails also prevent fungal growth. Moreover, gel nails are quick and easy to apply and dry out instantly. However, risk involves if you get allergic to the nails. You might experience pain in the affected area, burning sensation or redness of the nail cuticles.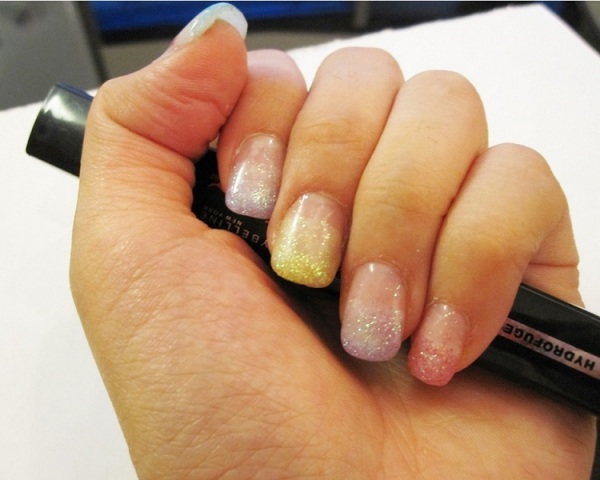
Image: Odenosuke@flickr
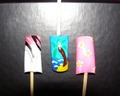
Types Of Gel Nails
- Gel nails are usually made of pre-mixed ‘light-cured’ gels, which is a mixture of polymers and monomers. This is applied on the surface of the nails and then allowed to “cure” or dry with the help of ultra-violet light.
- The “no-light” gels are gaining popularity these days. Unlike the ‘light-cured’ gel nails, to dry the ‘no-light’ nails, no light is required. Instead, all you simply need to do is dip your freshly painted fingernails into water.
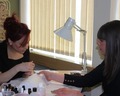
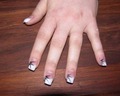
How To Apply Gel Nails
- First of all, take a buffer and rub it on the surface of your nails. Buffing will remove the shine of your natural nails.
- Now, use an emery board to shape the free edge of the nail plate in accordance to your finger nail size.
- Hold the gel nail tip at an angle of 45 degrees. Now pour a drop of nail adhesive on the outer edge of your natural nail and stick the tip of the artificial gel nail against it.
- Now slide the artificial nail gently and press it against the natural nail. Patiently wait until the nail adhesive holds the nail properly.
- Use an acrylic bonding agent and apply a single coating of it on the surface of your natural nail. Do not apply it on the artificial tip.
- Take two separate glass containers. Pour small amounts of acrylic powder in one. On the other, pour the liquid. Using a brush, dip it in the liquid and press it lightly against the dish. This process would help you release excess acrylic. Thereafter, sweep the brush on the powder, so that it carries sufficient amount it.
- The ball made out of gel powder and primer should be big enough to cover your hair entirely. Now, place the tip of the brush at the centre of your nail.
- Gently stroke it into the cuticle region and paint the front and sides well. This will help in filling the nail behind the artificial nail completely.
- Now using a brush handle, tap the filled in area of the nail gently when it becomes dry. When you get the familiar sound of clicking, you will know that that your artificial gel nails are set.
- Now, buff and file your newly created nails. Then, go on to apply a nail coat varnish first, followed by nail paint and a top coating. Also apply a drop of cuticle oil on the nail cuticle.
- Within every 2-4 weeks, the gel nail enhancements need to be filled. The time period varies according to the growth rate of nails.
How to Cite


More from iloveindia.com
- Home Remedies | Ayurveda | Vastu | Yoga | Feng Shui | Tattoos | Fitness | Garden | Nutrition | Parenting | Bikes | Cars | Baby Care | Indian Weddings | Festivals | Party ideas | Horoscope 2015 | Pets | Finance | Figures of Speech | Hotels in India : Delhi | Hyderabad | Chennai | Mumbai | Kolkata | Bangalore | Ahmedabad | Jaipur
- Contact Us Careers Disclaimer Privacy Policy Advertise With Us Lifestyle Sitemap Copyright iloveindia.com. All Rights Reserved.