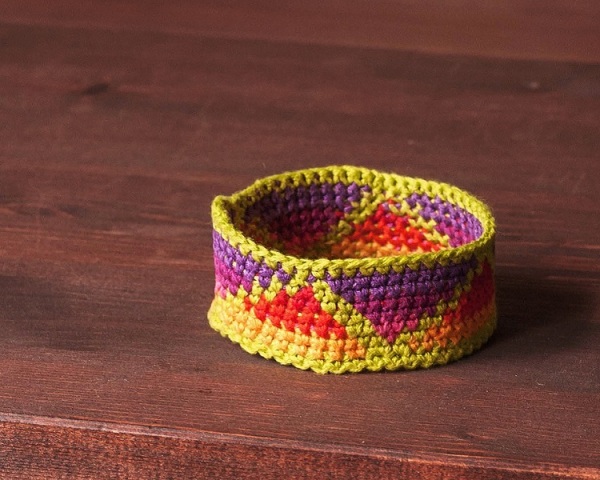
Ever wondered how to go about making an embroidery floss bracelet and did not know how to go about it? Explore this article to learn about the same.
Embroidery Floss Bracelets
Friendship is a bond between two people. It is a beautiful relationship that teaches you to share, console, love, laugh and enjoy. After a person’s family, it is the friend who can provide the same level of comfort and contentment. We always think what is it that we can do to thank the friend who has always been there by our side at all times. What gift we can give to the person who has never let us feel the pain of the sorrows we have been through. A handmade embroidery floss bracelet is one such simple and personalized token of love which you can give to your best friend to convey your love and appreciation for the endless care and affection he/she has given you. An embroidery bracelet is cheap and easy to make. Not only is it funky, but it is one such gift item your friend will definitely like. Therefore, if you think that you should gift something to your friend and surprise them with your idea, this article will teach you how to make embroidery floss bracelets. Read on to learn how.

How To Make Embroidery Floss Bracelets
-
Masking tape
-
Scissors
-
Embroidery floss of 4 colours (25 inches)
-
Start the work on the floss bracelet by tying a knot of about 2 inches from the top of the floss strands. Tape the strands together at the place where you will be working on the bracelet and then separate them according to the colour. Name the strands from left to right as string 1,2,3,4 respectively.
-
To make the bracelet, start with the first string. Loop over the first string to the second string and then loop it under the second string. Make sure to hold the second string straight and to pull the knot till it is closely secured. Repeat the same process in order to create a double knot.
-
Once you have created the knots with the first and the second string, take the first string and make double knots along with string three and four.
-
The second string should be now in the far left position. You will have to make a double knot with string two along with string three, string four and string one. Repeat the same process with string three and string four in the first position.
-
Continue making knots with different strings in the same sequel until you reach the desired length of your bracelet. Once you have got the desired length, gather all the strings and secure the end with a proper knot.
-
This will give you your embroidered floss bracelet which you can either gift to your best friend or wear it on your wrist and start a new style statement.
-
Embroidery floss is available in almost all the craft stores. In order to make an embroidery floss bracelet you will need floss of different colours. The simplest choice for a colourful bracelet is the monochromatic colour scheme, shades of light and dark colours. However, you can even choose one of the following colour schemes in order to showcase your creative side:
-
The warm colour scheme is the colour scheme that uses strings with shades of yellow, green and violet to provide a warm feeling to the person who wears it.
-
The cool colour scheme is a colour scheme that makes use of colours like shades of blue, green and violet that are light on the eyes.
-
The primary colour scheme is another colour scheme that you can use. This colour scheme makes use of colours like red, blue and yellow.
-
The secondary colour scheme is a colour scheme making use of secondary colours like orange, green and violet.
-
The complementary colour scheme is the scheme that puts to use colours like red and green or yellow or violet that will complement each other.
-
The analogous colour scheme is one that makes use of two or more colours that are adjacent to each other on the colour wheel.
See also
More from iloveindia.com
- Home Remedies | Ayurveda | Vastu | Yoga | Feng Shui | Tattoos | Fitness | Garden | Nutrition | Parenting | Bikes | Cars | Baby Care | Indian Weddings | Festivals | Party ideas | Horoscope 2015 | Pets | Finance | Figures of Speech | Hotels in India : Delhi | Hyderabad | Chennai | Mumbai | Kolkata | Bangalore | Ahmedabad | Jaipur
- Contact Us Careers Disclaimer Privacy Policy Advertise With Us Lifestyle Sitemap Copyright iloveindia.com. All Rights Reserved.


