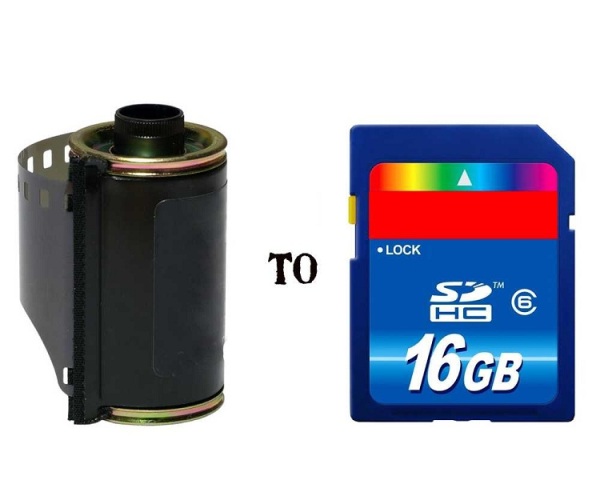
You have piles of old film photos lying in one corner of your wardrobe. Want to preserve them? Follow this article to learn how to convert print photos into digital images.
How To Convert Photos To Digital
To cherish memories and precious moments, we click photos and preserve them. But what to do when these photos start getting old and tattered? Do you fear of losing them? With the advent of technology, digital cameras have completely erased the need for storing images virtually. Today, all that you need to do is click snaps, transfer them to your files and relax. Your pictures are safely locked in your laptop or pen drive till the time you want to store them. Hardly anyone today uses old cameras to avoid the entire fuss of getting the reel first, clicking pictures and then getting the negatives converted into photographs. But, what to do about the old photos that we have preserved since the time when we were born? How to preserve these snaps that are sure to get damaged or wilted? Converting these photos into digital images is one of the best ways to save your memories and relive them whenever you want. You can save them onto your computer or any other storage device. Best of all, they will never be lost or get soiled. To know how to convert your old film photos into digital images, steer through the lines below.

Converting Photos To Digital
-
To preserve your film photos, you will require your old pictures, photo scanner, and photo editing software. A scanner is a kind of photo copy machine that creates a duplicate of a document, sends the information to your computer and saves it in JPEG format.
-
You can choose from a variety of scanners, the most popular of them being flatbed scanner, film scanner, and wand scanner.
-
A flatbed scanner is the most common scanner used that captures the image of the photo just like a digital camera. It works great for children’s artwork and school papers.
-
A film scanner is used to scan the negatives that you get along with your processed film photos. Considered to be better than flatbed scanners, film scanner produce better quality images since they use negative films, while flatbed scanners use actual photos.
-
A wand scanner is a handheld device similar to a flatbed scanner. The user has to move the scanner over the photo allowing it to capture the picture and send it to the computer. However, it does not deliver the best quality scans and hence, is only used for documents.
-
We recommend you to use a flatbed scanner for scanning print photos. Choose one with 300 dpi (dots per inch). However, if you have black and white photographs, pick a scanner with 400 to 600 dpi. The higher the dpi, the sharper your photos will be.
-
Place a film photo facing down on the scanner. Press the button on the scanner and you will be flashed with options on your computer screen. Select the scan option and continue the scanning process.
-
Review the scanned picture that you receive. As per your requirement, open up the scanner options window and adjust the quality settings, such as high resolution, dust removal, and color restoration. Scan again till you get a picture that stands up to your satisfaction level.
-
Create a new folder and save the scanned picture with a file name of your choice. Some scanners give you the option of choosing the image file type when you save the image, such as JPEG, BMP, GIF, TIFF, etc.
See also
More from iloveindia.com
- Home Remedies | Ayurveda | Vastu | Yoga | Feng Shui | Tattoos | Fitness | Garden | Nutrition | Parenting | Bikes | Cars | Baby Care | Indian Weddings | Festivals | Party ideas | Horoscope 2015 | Pets | Finance | Figures of Speech | Hotels in India : Delhi | Hyderabad | Chennai | Mumbai | Kolkata | Bangalore | Ahmedabad | Jaipur
- Contact Us Careers Disclaimer Privacy Policy Advertise With Us Lifestyle Sitemap Copyright iloveindia.com. All Rights Reserved.


