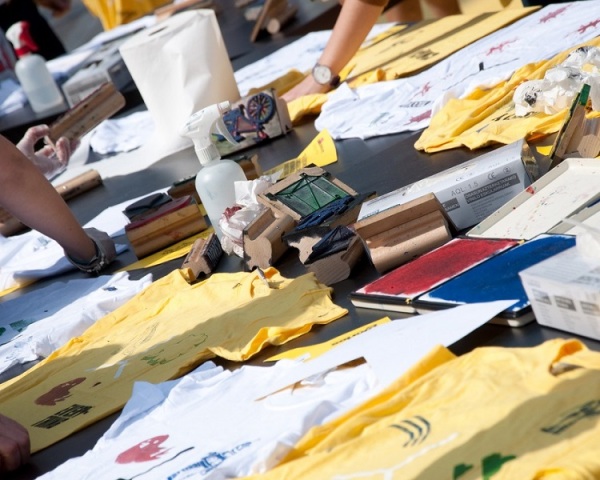
Who said you need a degree to become a fashion designer? Now design your own t-shirts and extend your style statement by following few simple steps.
Design Your Own T-Shirt
Unable to find the designs you want your T’s to display? Printed t-shirts and t-shirts with texts are the trend today. Nothing can match the style statement of your worn out jeans and a printed t-shirt of your choice. Nevertheless, a trend tends to become common as well. You might find that the t-shirt which fits your style statement is also the one liked by many, or it may so happen that you don’t like any of the designs in the market. What can a person do in such a situation? Should you give up on your urge to be unique t-shirt and go in for one of the popular and common design? Or should you wear something that is out of fashion? Well, with the advanced technology and various software programs, you now have a third option, i.e. to design your own t-shirt. Design you own print on the computer and get it on your favourite t-shirt with the help of a t-shirt transfer technique. Follow these simple steps on how to design your own t-shirt and wear a new trend.
How To Design Your Own T-Shirt
Things Required
-
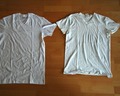
Any T-shirt in some bold colour like white or black
-
An iron and iron stand
-
White paper
-
A clean and dry pillow cover
-
Transfer paper
-
Scissors
-
One pack crayons
-
Once you have all the materials required at your disposal, you are ready to design your own t-shirt. It is a very simple procedure and you will surely have a lot of fun doing it.
-
Make the best use of technology. Switch on your computer and make a design for your t-shirt in the computer by using some computer generated image as an example.
-
Your next step will be to copy and paste the image or the design that you want on your t-shirt onto a blank document. Once the design is on a new document, resize it according to the screen, making sure that the image stays within the boundary lines of the page.
-
Why not make your t-shirt look all trendy and hep? To have a better impact, add some interesting and attention grabbing text along with the image or design on the document. The text and a picture will provide you with a better image on your t-shirt. It is a combination that will complete the design of your t-shirt.
-
Make sure that the colour and the font of the image or the text which you choose is after keeping in mind the colour and the size of the t-shirt. The colour of the image and the text should complement the colour of the t-shirt and should not sink or protrude compared to the colour of the t-shirt.
-
It is beneficial to group together a text and picture. A picture and text together helps you to move the picture into the horizontal position and once the picture is in the horizontal position, it becomes easier to convert it into a mirror image.
-
It is important for the image to be in a mirror form for it to get printed onto the transfer paper. The next step in designing your t-shirt is to print the designed image onto the transfer paper. Once printed, let the transfer paper dry completely.
-
Use a pair of scissors and cut out the image from the transfer paper once it is completely dry. Don’t forget to leave a small border around the image which will help you in the placement and removal of the image.
-
Take out the iron box and heat it to the hottest setting possible. While the iron is heating up, straighten the t-shirt area on which you would like to print the image. Use a pillow cover to help you in the process. Put the pillow cover on the area where you want the image to be printed and iron over it to remove all the wrinkles from the t-shirt.
-
Once the area on your t-shirt is wrinkle free, place the image on the t-shirt and iron it for 5 minutes. Make sure to iron all over the image without leaving out the corners and edges. Use all your strength while ironing and you can also make use of extra weight for the image to get properly hard-pressed.
-
Once you believe that the image is now printed on the t-shirt, remove the iron and let the t-shirt cool down fully. Don’t pull out the transfer paper from the t-shirt till the time the t-shirt has cooled completely.
-
After about 10-15 minutes start peeling off the transfer paper from the t-shirt by pulling it out from one hand and using the other hand to pull the t-shirt. Remove all the particles of the paper and hey presto you have your designer or printed t-shirt ready to use!


See also
More from iloveindia.com
- Home Remedies | Ayurveda | Vastu | Yoga | Feng Shui | Tattoos | Fitness | Garden | Nutrition | Parenting | Bikes | Cars | Baby Care | Indian Weddings | Festivals | Party ideas | Horoscope 2015 | Pets | Finance | Figures of Speech | Hotels in India : Delhi | Hyderabad | Chennai | Mumbai | Kolkata | Bangalore | Ahmedabad | Jaipur
- Contact Us Careers Disclaimer Privacy Policy Advertise With Us Lifestyle Sitemap Copyright iloveindia.com. All Rights Reserved.