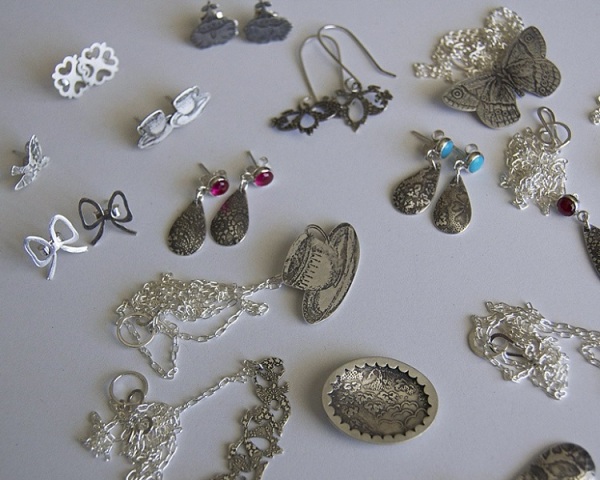
Why buy jewelry, when you can make it all at home? Find some useful instructions on how to make homemade jewelry.
How To Make Homemade Jewelry
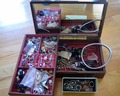
Let’s assume you have two choices before you and you don’t have much time to decide between the two. The first option has a box full of commercial jewelry, the second option has a box full of beads and other items required to make jewelry. Now, which of the two boxes would you choose? If you are the kind of a person who believes in being a brick in the wall or just another face in the line, option one is for you. However, if you believe in standing out in a crowd, you can be rest assured that option two is for you. Life, after all, is all about taking the time out to do things that you can do all by yourself. Really, why buy a brick in the wall when you can add a personal touch to almost everything you own? Go ahead and read on to gain access to step-by-step instructions on how to make homemade jewelry. The instructions that are to soon come your way will teach you how to make your own pair of beaded earrings and a beaded necklace.
Instructions On Making Homemade Jewelry
Earrings
- Pair of Ear Wires
- Head Pins
- Beads
- Round Pliers
- Flat-Nosed Pliers
- String
- Wire Cutters
- Jewelry is all about creativity and when you are looking to get creative with your jewelry without really putting in too much effort, a pair of earrings is the way to go!
- You can begin putting your earrings together by first picking out the right beads and the right color. The design and size of the beads totally depends on your personal sense of fashion, as does the color of the beads.
- Once you have chosen your beads, you can go right ahead and slide the beads onto one of your head pins. Post doing this, you will have to use the flat-nosed pliers. The flat nosed pliers should be used to bend the head pin at a forty five degree angle. This is what will keep the earring bead in place. If you fail to do this, your earring bead will slip right off its pin.
- Move on to your round nose pliers. Here, you will have to clasp your round nose pliers around the bend you made in the head pin. Once you clasp it, go ahead and bend the particular section into a loop.
- Take a closer look at your earring. If you see any extra wire on the head pin, feel free to get it off. Now, take a piece of ear wire and slide it through the loop of the head pin before actually going ahead and closing it. You can repeat the series of these steps to put together the other earring.
Beaded Necklace
- Beads
- String
- Clasp
- The process of making a beaded necklace begins when you decide on the color of the string for the necklace and the color and size of the beads for the necklace.
- Once you get the above mentioned variables figured out, you can cut out just as much as string as you may need for your necklace.
- With this done, go right ahead and slide the beads on to the string. While doing this, you will have to make it a point to tie a knot every once in a while to prevent the beads from falling off the string.
- Once you are done with beading the necklace you can tie a clasp on one end of the necklace and the hook piece on the other end of the necklace. With this your necklace is ready and more than ready to be worn.


See also
More from iloveindia.com
- Home Remedies | Ayurveda | Vastu | Yoga | Feng Shui | Tattoos | Fitness | Garden | Nutrition | Parenting | Bikes | Cars | Baby Care | Indian Weddings | Festivals | Party ideas | Horoscope 2015 | Pets | Finance | Figures of Speech | Hotels in India : Delhi | Hyderabad | Chennai | Mumbai | Kolkata | Bangalore | Ahmedabad | Jaipur
- Contact Us Careers Disclaimer Privacy Policy Advertise With Us Lifestyle Sitemap Copyright iloveindia.com. All Rights Reserved.