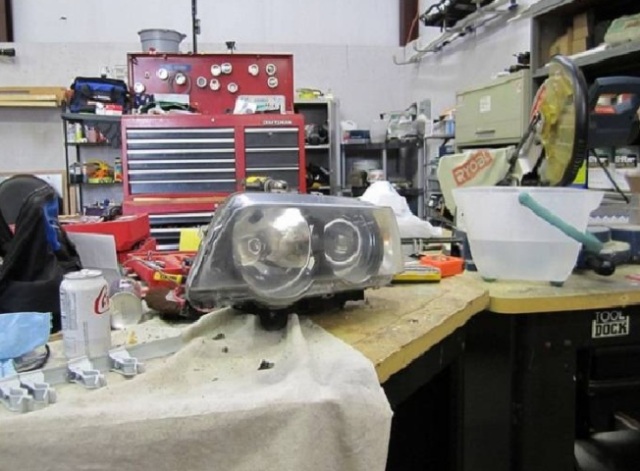
For safer driving at night, it is a must for your headlights to be clean. Swing through the portals of this article for step-by-step instructions on cleaning headlights.
How To Clean Headlights
People who own cars almost always tend to focus on how good or maybe even how sophisticated the interiors of their cars look. By doing this, what they are really doing is focusing more on the interiors of their cars and less on the exteriors of the same. It really shouldn’t be this way, because the exteriors of your car matter just as much as the interiors of your car do. Talking about exteriors, the headlights of your car make for one of the, if not the most important exterior part of your car, after the tires of course. This is exactly why it is so important to have headlights that are clean and very well maintained. Take the time and read on to establish blocks of familiarity with step-by-step instructions on how to clean headlights. Following these instructions to a T will not only help you have a vehicle with better looking headlights, but also a vehicle with headlights that can help you see better at night!

Cleaning Headlights
You Will Need
-
A Cotton Cloth
-
Water
-
Baking Soda
-
Window Cleaner
-
You can begin the process of cleaning the headlights by finding yourself a small bowl. To this small bowl you can add two tablespoons of baking soda. Once you are done adding the baking soda, add a few drops of water to the small bowl. The amount of water added should be just enough to result in a slightly runny paste of baking soda and water.
-
Move on to the soft cloth now. This step will require you to wet your cloth, however, wet here doesn’t mean the cloth is soaking wet. It only means that you are supposed to have a damp cloth on your hands as opposed to a cloth that is dripping with water. It is important to use a damp cloth and not a dry one because only this will ensure that the water isn’t absorbed out of the baking soda paste. If the cloth is too wet, the purpose of using the cloth will be destroyed because the paste may get too runny and that is not something you would want to deal with.
-
Once you have got the dampness of the cloth right, dip the cloth in the paste and scoop out enough paste to cover a space just about the size of a small coin on your headlight. With this done, go on to wipe that particular spot in a circular motion. The paste will stay on as you wipe the headlight, but as you continue wiping, you will notice that the lens that dominates that particular spot of the headlight will look a lot cleaner than it did before.
-
You can go on applying paste and wiping or cleaning the headlights until you are done with the entire surface area of your headlight. The best way to find out if you are doing it right is to take a look at your paste. If your paste looks brown, a dirty yellow or even grey, it will be safe to assume that the dirt, dust and grime from your headlights has been removed and for that you only have your hard work to thank.
-
To finish off the process of cleaning your headlights, you can use a window cleaner. If you don’t have a window cleaner or don’t see a point in using the same, you can feel free to just use water. Water from hose will be perfect for this. However, if you choose to use a window cleaner, a foaming window cleaner is really the way to go!
See also
- BMW | Bajaj Auto Ltd | Bentley | Car Insurance | Cars in India | Concept Cars | Fiat | Ford | General Motors | Geneva Auto Show
More in 'Automobiles'
More from iloveindia.com
- Home Remedies | Ayurveda | Vastu | Yoga | Feng Shui | Tattoos | Fitness | Garden | Nutrition | Parenting | Bikes | Cars | Baby Care | Indian Weddings | Festivals | Party ideas | Horoscope 2015 | Pets | Finance | Figures of Speech | Hotels in India : Delhi | Hyderabad | Chennai | Mumbai | Kolkata | Bangalore | Ahmedabad | Jaipur
- Contact Us Careers Disclaimer Privacy Policy Advertise With Us Lifestyle Sitemap Copyright iloveindia.com. All Rights Reserved.


